

Ventari makes this easy inside LP Explorer using:
Columns
Filters
Saved Views
Selection
Tags
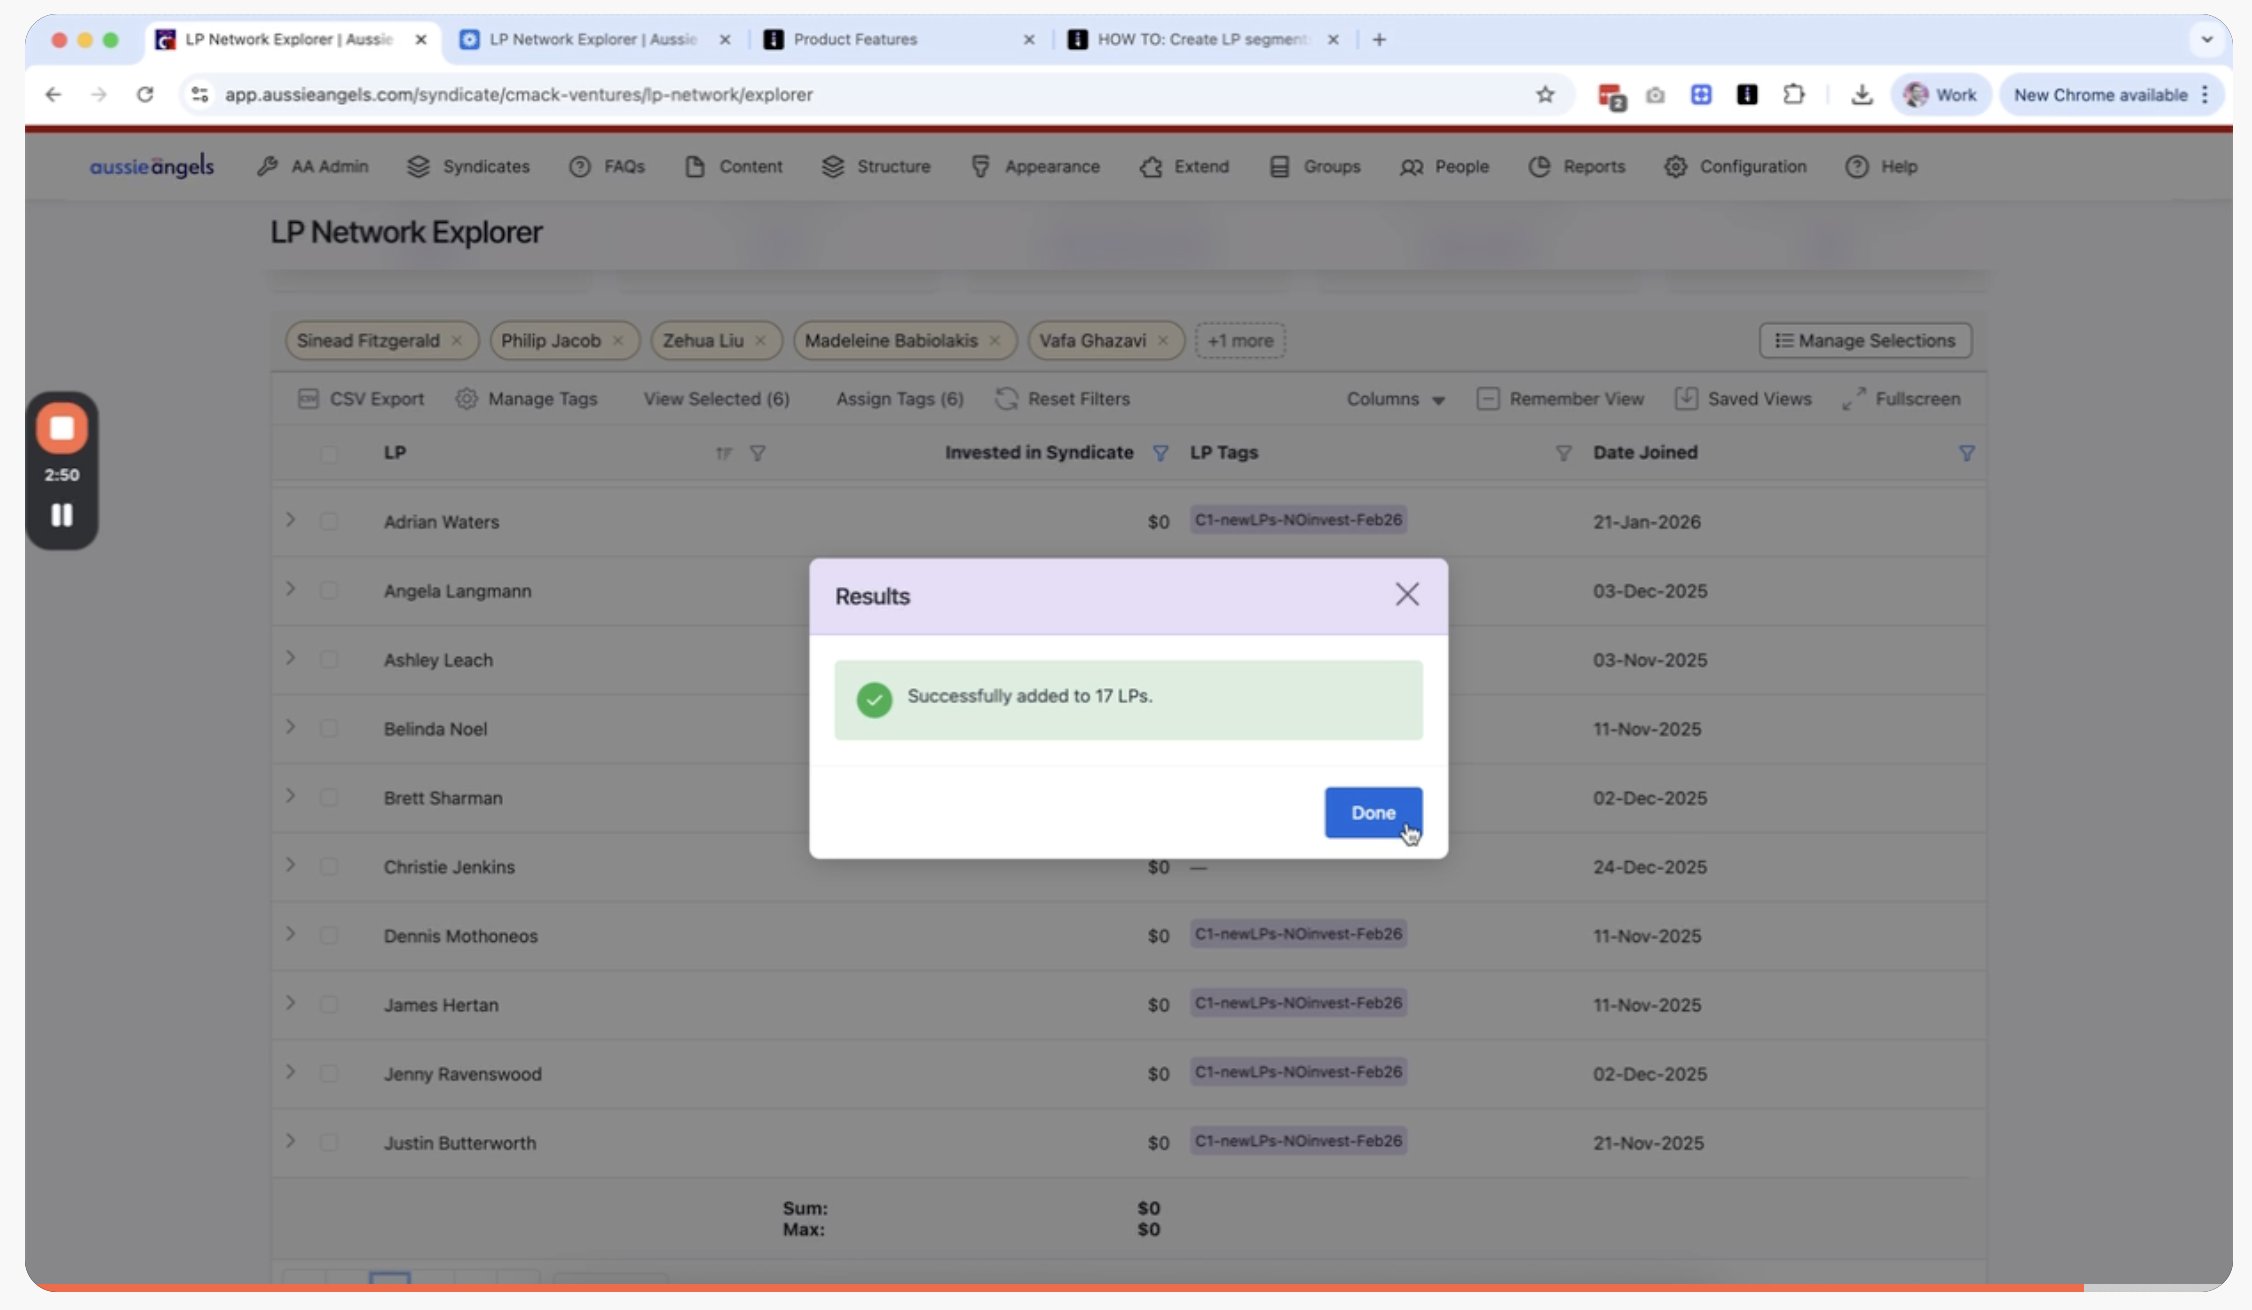
👉🏻 Click here to watch on Loom:
https://www.loom.com/share/868711b7a0144f95ab9fa3d071b10679
🔎 Step 1: Open LP Explorer
Log into your Ventari account.
Navigate to LP Explorer.
You will see your syndicate's LP list.
(Tip: This works best when you start with a clear campaign goal in mind - who exactly are you trying to reach?)
📊 Step 2: Add the Key Columns You Need
Before filtering, add the columns that help you build the segment.
In LP Explorer, add:
Amount Invested
Tags
Date Joined
🧠 Step 3: Filter Your LPs Into a Segment
Now build your segment using filters.
Example campaign segment:
LPs who joined recently, but still haven't made their first investment.
To create this segment:
Filter Date Joined to recent months
Filter Amount Invested to $0
Once those filters are applied, you'll have a clean list of LPs who match your campaign criteria.
💾 Step 4: Save the Segment as a View (Dynamic)
Next, save your filters as a Saved View, so you can reuse the segment anytime.
Click Save View
Name your view something clear, for example: S1-newLPs-NOinvest
✅ This view stays dynamic, meaning it will automatically update as new LPs join and match the same filters.
✅ Step 5: Select All LPs in Your Segment
Once you're happy with the filtered segment:
Select all LPs in the view
You'll see a selection summary at the top of the screen
This helps you quickly confirm you're targeting the right group.
✂️ Step 6: Remove Anyone You Don't Want Included
If there's someone in the list you don't want included (for example, a VC or someone you want to exclude):
Manage your selection
Remove that person from the selected group
This gives you precise control - even when you're starting from a broad segment.
🏷️ Step 7: Tag the Exact Group (So You Can Track + Reuse It)
Finally, tag the selected group so you can track who was part of the campaign and target them again later if needed.
Create a new tag
Use a consistent naming style, for example: C1-newLPs-NOinvest-Feb2026
Apply the tag to the selected LPs
✅ Now you can filter by this tag anytime to instantly pull up the same group again.
🎯 Why This Matters (Campaign Examples)
Here are a few segment ideas Leads commonly want:
New LPs who joined recently but haven't invested yet
LPs who have invested before (warm re-engagement)
High-conviction LPs (larger cheque sizes)
LPs tagged for a specific theme (e.g. "AI", "Climate", "B2B")
LPs included in a past campaign (using tags)
💬 We'd Love Your Feedback
We're working toward enabling these same filters and segments directly inside Posts for targeted messaging.
If you have feedback, tell us: What LP segments would be most useful for you?
✅ That's it! You've successfully segmented your LPs in Explorer using filters, saved views, selection, and tags.